It takes accuracy, not force, to operate an auger attachment on a mini excavator safely and effectively. This guide will help you become an expert with the attachment, guaranteeing straight holes, increased output, and less wear on your machinery.
- Pre-Drill Setup and Safety
The most important steps to save time and avoid serious accidents are safety and preparation. Prior to starting construction, you must confirm the location of all infrastructure.
In the UK, always use LinesearchbeforeUdig (LSBUD) by calling 1100 or visiting their website to obtain utility plans for buried gas lines, power cables, water, and sewer pipes. Obtaining these plans and taking precautions prior to drilling is your legal obligation.
Ensure the work area is clear of debris, large rocks, and tree limbs. Confirm that bystanders are at a safe distance from the excavator and the rotating auger. The high-speed rotation can throw solid and small stones with significant force.
- Mastering the Drilling Technique
Instead of using constant force, efficient auger operation involves a cycle of drilling, lifting, and clearing. Here are some tips for honing your auger technique for longer equipment life, smoother operation, and straighter holes.
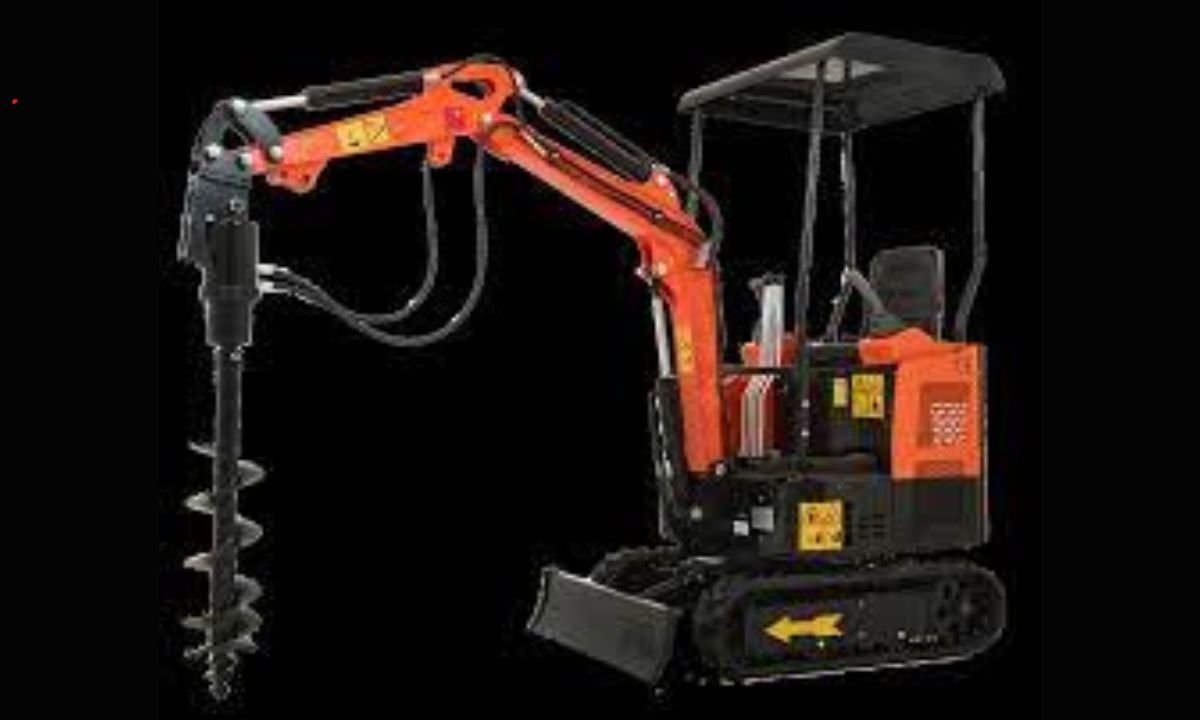
Make sure the auger bit is perfectly vertical, which is 90° degrees from the ground, before starting. You can visually align it with the boom and dipper arm of your excavator or use a level to check this. This is an important part because if your start is off, your hole will stay crooked the whole way down. Start the auger slowly by allowing the pilot bit to enter the soil and find its center. Starting too fast causes the auger to skip across the surface, making the hole wider.
Once your hole is formed, your goal is steady and consistent feeding. Use the natural weight of the excavator arm and its hydraulic pressure to push down. You want a smooth, even speed that lets the auger teeth cut cleanly without straining the motor.
Never slam or force the auger into the ground. If the auger slows down too much or your excavator starts groaning, it means that you’re applying too much pressure. Too much crowding can cause stalling, gearbox stress, and broken shear pins.
- The Lift and Clean Method: In most soils, especially wet or compacted ones, you need to clear debris often to prevent auger lock. Go down about 1 to 2 feet, then lift the auger out completely before drilling deeper. Always lift while the auger is still spinning slowly. The rotation helps fling soil off the auger flukes. If you stop spinning before lifting, the soil sticks, falls back, and increases drag and suction.
- Troubleshooting Auger Lock: Auger lock occurs when clay that is wet or dense packs tightly around the flukes, forming a vacuum seal. Stop the rotation right away if the auger stalls. To avoid damaging the drive unit, avoid spinning it vigorously in an attempt to break the seal. To break the vacuum seal, lift slowly and smoothly using the hydraulic power of the excavator boom. Once free, clear the hole and proceed with half-depth cuts.
- Protect the Drive Unit from Lateral Stress: The weakest point on an auger system is its connection to the excavator, which is vulnerable to side forces. Only apply downward force during drilling. Don’t move or swing the excavator arm left or right while the auger is still buried. The auger should always be lifted out first. Side forces have the potential to break shear pins or bend the output shaft, requiring costly repairs.
- Post-Operation Maintenance
Maintaining the auger attachment properly guards against expensive repairs
and preserves your large investment.
The gearbox is the most complex and expensive component. Its failure is often due to neglected oil. If the oil looks milky or foamy, that means water has mixed in. It needs an immediate oil change. Always use the specified heavy-duty extreme pressure lubricant to protect against friction and heat.
Inspect Wear Parts and Connections
Routine inspection keeps your auger safe, stable, and efficient. Regularly inspect the carbide teeth and the pilot bit. Even a slightly dull pilot bit or worn tooth will significantly decrease penetration, forcing you to use more power and fuel. Replace them promptly.
Make sure all hitch pins connecting the auger drive to the quick coupler are greased, tight, and not excessively worn. Loose pins create sloppy movement and amplify damaging shock loads.Examine every hose and fitting for cuts, cracks, or leaks. A pinhole leak under pressure is dangerous, and even small contamination can lead to hydraulic motor failure.
You can transform a potentially difficult task into a seamless, effective procedure by becoming proficient in these auger operation and maintenance techniques. By following these best practices, you can maintain the life of your mini digger bucket teeth and auger drive unit, in addition to drilling straight and clean holes.
YOU MAY ALSO LIKE: Modern Equipment Solutions for Construction, Landscaping, and Agriculture